Hope everyone is staying inside, safe and warm today. In this installment I intend to answer a few questions raised at club meetings and point out remaining details.
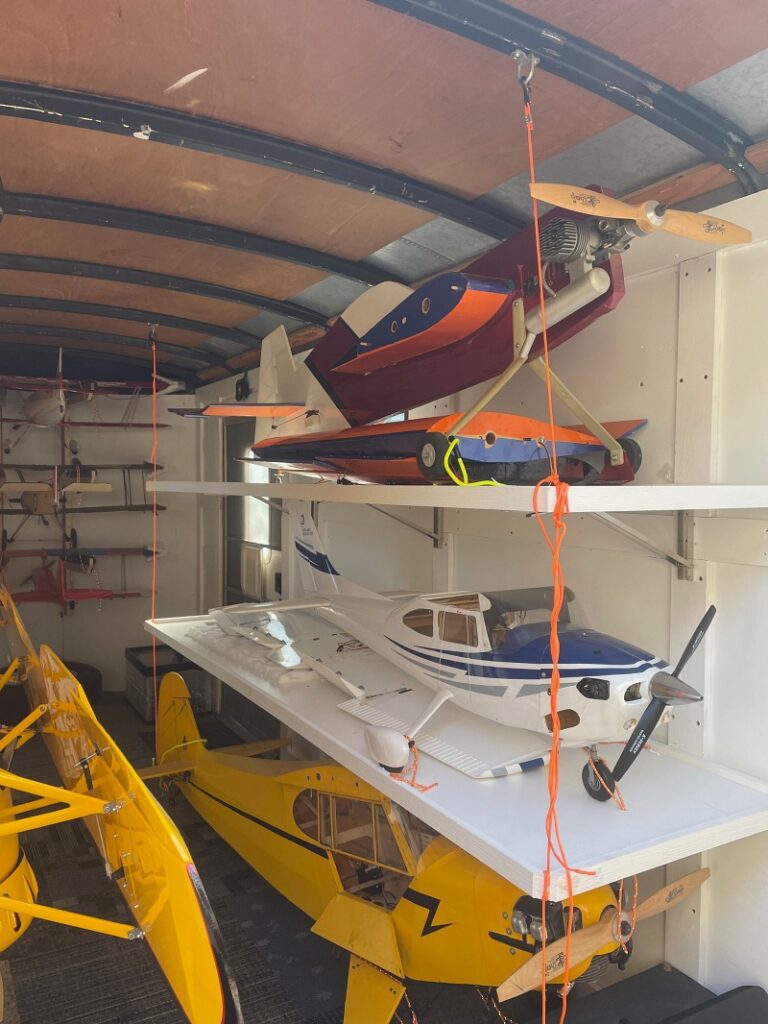
There is some polishing to do in the spring but the hard part is done and I am looking forward to using the trailer for the first time. Notice the orange nylon cord attached to the shelves. They are under tension from the floor and the roof to reduce shelves bouncing…yet can easily be disconnected. The shelves are hinged and will fold down against the wall for other uses. Admittedly, just last weekend, when my 24 yr old son finally moved out I made him rent a u-haul. 😮 I was not prepared to unload my trailer in the cold weather. And…well…those planes simply look too cool in my mobile hangar! Practically speaking, I had no safe place to put the planes while boxes, tools, and furniture were being moved out of the house.
So where did I get my ideas for this trailer? Facebook. Yes, THAT FaceBook. There is a group “Show Your RC Trailer Setup” which you can search for and follow. Some guys take this to crazy levels; including air-conditioning, television, stereo, mini-fridge, … Then again, we all take something to crazy levels when the wife isn’t looking. ha!
The most glaring thing in the photo above is the ceiling. Yes, it is something I intend to insulate this year. The plan is 1″ styrofoam, as I used in the walls, followed by screwing flexible panels to the studs for a clean look. And topping it off will be an elastomeric, reflecting, white paint like what is found on RV roofs.
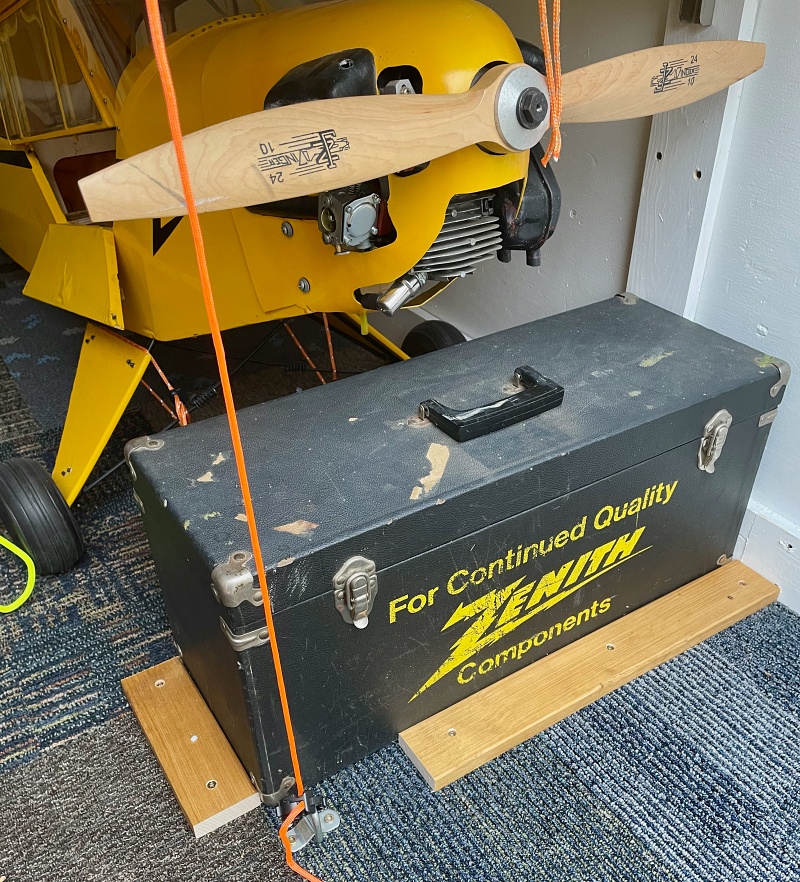
I was asked about my flight box at a recent meeting and I told them they must wait for this post. 🙂 The cleats (below) are intended to hold it in place…assuming road conditions are not too rough. And it is easy to raise the cleat height if need be.The box sits back away from the door and the next picture explains why.
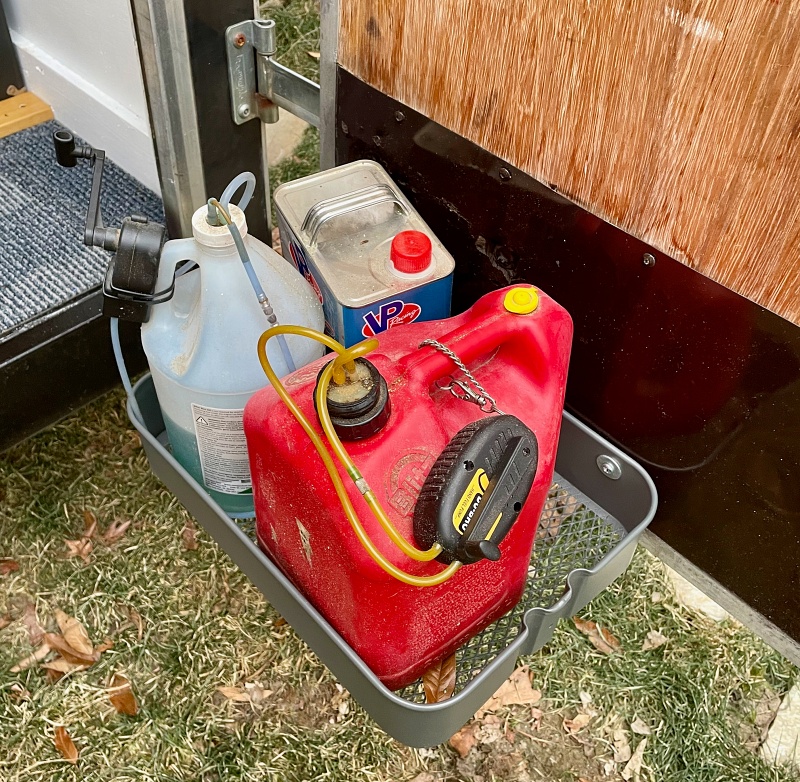
A shelf is attached to the door making for easy access and when the door closes the fuel “basket” slides right adjacent to the flight box. I discovered the doors have some water damage in the lower part so I will add a cord/chain from the outer edge of the basket to a higher location on the door to stop the sag. Damage on the other door was worse so nothing will mount on the low side.
Let’s talk about power
I built out a power distribution panel in the nose of the trailer. And before anyone says anything, I realize the inverter is way too small but it was what I had available for testing purposes. It provides 12vdc and 5vdc to charge batteries and radios. 110vac is available to power battery charging bricks but will NOT provide the amps needed to charge LiPo; which is OK since I only own a single 2s LiPo. I do need to test a box fan (a la Paul Geders). Bottom line: I plan to upgrade the inverter wattage and upsize the lawn tractor battery for greater flexibility when the weather warms up.


On the Business End
PVC was run along the base of one wall to three junction boxes. I only built out a single junction at the rear of the trailer before winter shut me down. So, you see a pair of 110vac on the left side, to the immediate right a pair of 12vdc via XT30 plugs (nestled in the switch opening using a custom mount which I 3D printed, and finally twin 5vdc USB ports in a pre-made black junction box. I intend to kit the other two in an identical manner so I can charge aircraft anywhere in the trailer. The other pics show a two-of-three battery-powered LED lights but will install 12v lights.
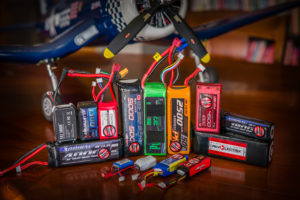
I run a lot of NiMH batteries (and a few nicad for special purpose) so 12vdc is crucial. I bought pre-wired XT30 plugs and replaced alligator clips on the 12vdc chargers. For example my AccuCycle can now use bullet connectors to connect via alligators to a 12vdc source, directly to the 110vac brick, or the newly built bullet-to-XT30 adapters. I did similar for the Quick Field Charger. On the 110vac side I have a several Hobbico RC Multi-Chargers so I have options.
Of course, the 5vdc USB charges my iPhone and my FrSky X10 Epxress transmitter.
There you have it. I will keep everyone informed as I make upgrades.