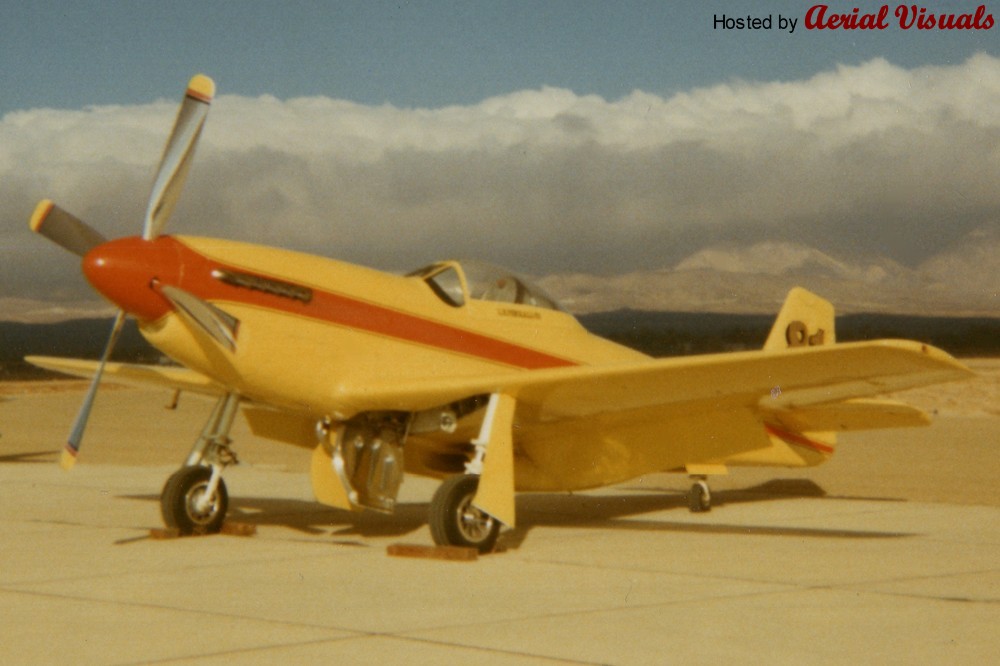
Details ,details , details. After attaching the stacks to the cowl I opened up the “exhaust pies to flow air by drilling them out with a 7mm drill. Also added a second slot behind the first on the bottom of the cowl. The exhaust outlets along with the sixty-four 1/8″ holes in the side of the cowl should be enough to cool the engine. I mounted the wheels. I sorted thru about 6 pair to find some to use. The ones shipped with the kit are awful. Dubro 5” inflatable were the easiest to do. I have more scale ones but these fit easy.
I was studying the overall shape and decided that the fillets shipped with the kit didn’t look right. They are nice and painted really nice but the top edge doesn’t fit a P51 at all. So how to fix? What came up was a back plate mounted between the fillet and the fuse side that has the correct top edge. I made some patterns (on paper) and taped them in place to study. 2 generations later I made some from manila folder material and then cut some from .020 aluminum fascia material (works well (easy to cut and file and sand). The result will be good once the seam between the fillet and aluminum is filled and all of it is painted. The big slab sided fuse is stating to fill with some detail. I know it should be yellow by now but just a bit more before we cover.


